Different uses of gathers, part 1

After my last post I wanted to dive more deeply into the world of gathers, and make a follow-up post on how they are used in clothing. It turns out there is quite a lot to say about them, so this will be a series of two or three posts. First we’ll see the most common uses of gathers. Everyone probably already know about them, but I thought it would be nice to start with simple pieces with gathers uses listed by type. Then we’ll see some more original pieces. Most of the pictures are from my books and magazines collection (if you click on them you’ll go to my Flickr where I listed the sources).

At the waistline

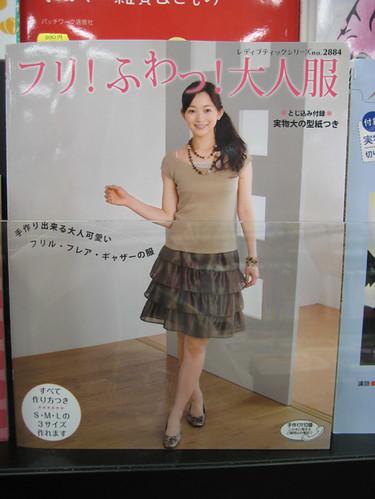
The goal here is to have a fitted garment at the waistline that will get fuller at the bottom. I think it’s one of the most common use of gathers, with ruffles and puffy sleeves.

Empire waist

Small gathers so that the top isn’t very wide

This version has more gathers, so that the skirt part is fuller

Natural waist

Full gathered skirt are a common thing in fashion from the 40′s, 50′s and early 60′s. I love that type of skirts! Of course they were also commonly used in more ancient history.

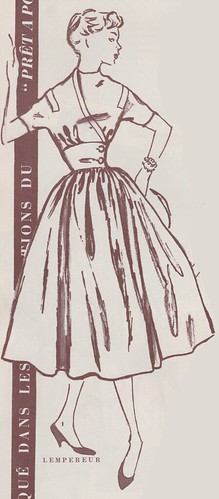
Full gathered skirt on a 1957 dress

Low waist

You can find a lot of those in fashion from the 50′s also, with the “long torso” trend where the waistline was below the waist. That’s what I used for my blue 50′s dress last year:

Today it’s most commonly used in skirts where the gathers start under a yoke, see the part about yoke.

Tiered skirts & ruffles

Gathers are used to make tiered or ruffle skirts. Ruffles can also be added to different parts of a garment as an embellishment.

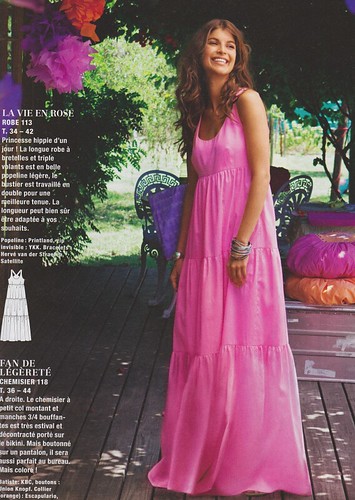
Dress with a tiered skirt.

Ruffle skirt

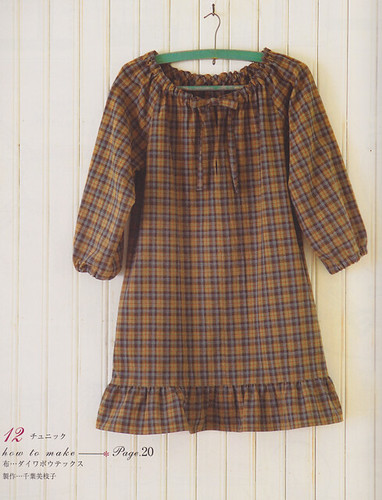
Ruffle at the bottom or a tunic, dress or skirt

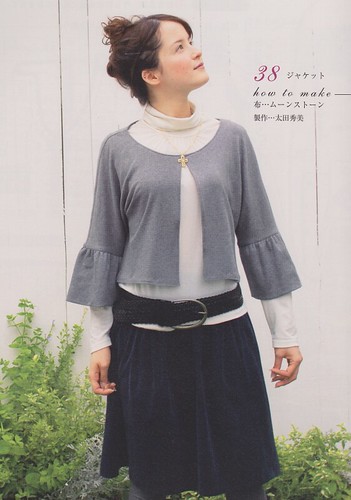
Ruffle at the bottom of sleeves

A ruffle was added to the neckline of this bolero, which makes it look at little fancier
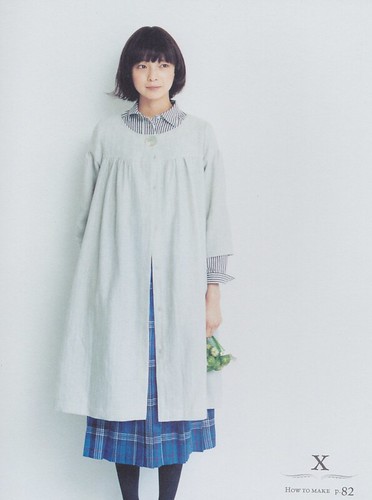
Under a yoke

Top

Bottom

You can also have yokes in skirts, which make the gathers start below the waist, around the hips. That makes the skirt full without having to much thickness at the waist. See this example by Eolune.
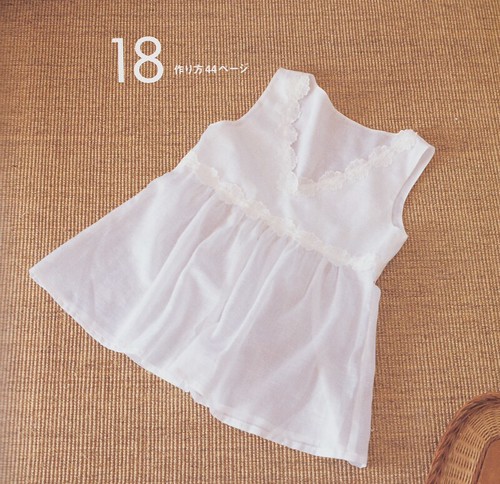
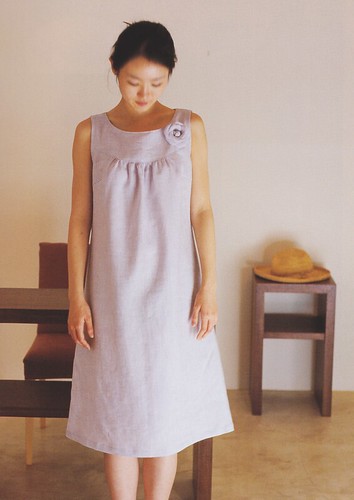
At the neckline

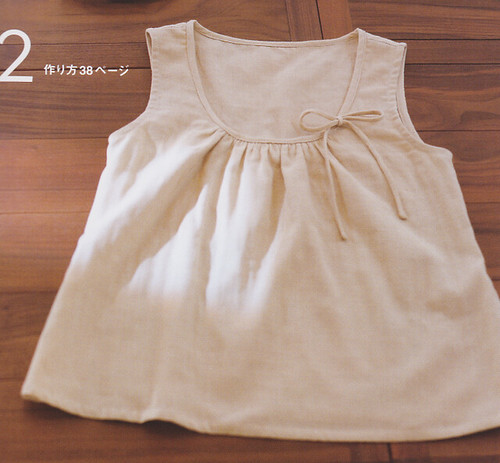
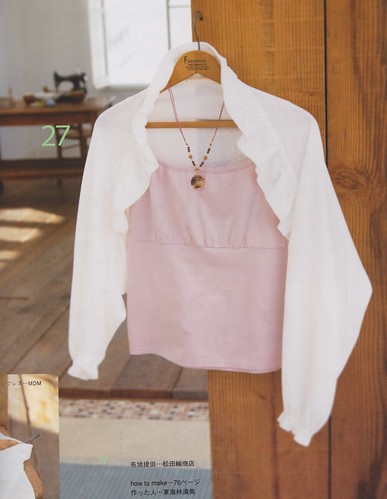
Here the gathers embellish the neckline and give a little fullness to the top.
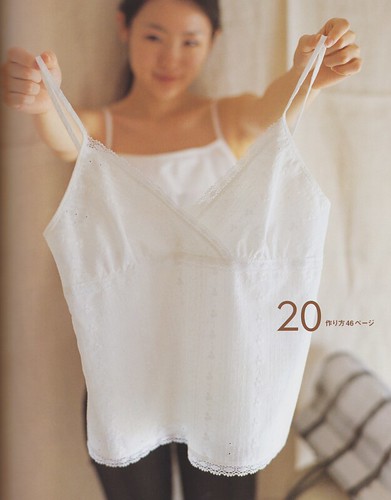
At the bust

You can also use gathers to shape the bust part of an empire waist dress or top.
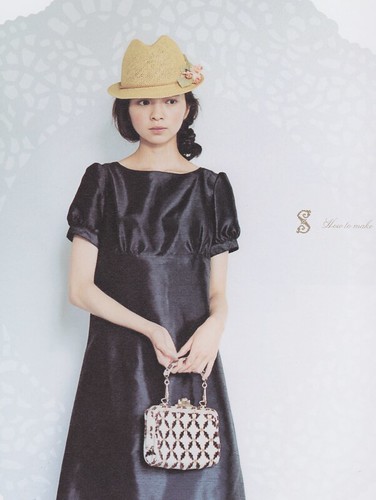
At the sleeves

Gathers can be at the sleeve cap to make it stand up a little, or at the bottom to tighten it around the arm. This creates a nice puffy sleeve. You can see an example of that on the last picture.

I hope you enjoyed this journey in the world of gathers as much as I enjoyed researching it for you. If you have common or uncommon pieces with gathers to share, please leave a common I’d love to hear about it!

Tutorial: how to make gathers

Last week someone left a comment here looking for advice on making the gathers for the Lisette bag. This gave me the idea to talk about the method I use for gathering, as it could be useful to others.

I discovered this method to prepare gathers by machine instead of doing it all by hand last year in my sewing book. I’ve been using it ever since, because it saves time and, in my case, it makes more regular gathers. It uses regular thread in place of basting thread, which is good for thick fabric because your thread won’t break as easily. It’s not as easy to remove the gathering threads afterwards, but sometimes you don’t have to. I left them in place on the Lisette bag since they’re hidden inside. For this tutorial I used a remnant of my bag’s fabric.

How to make gathers

* choose the straight stitch on your sewing machine and set the stitch length to the maximum length

* set the thread tension to zero

* stitch a first straight line along the part that will be gathered

* stitch a second line approx. 6mm away from the first. Be as regular as you can so that the stitches match.

On the Lisette bag I stitched both lines inside the sewing allowance so that I didn’t have to remove the threads. On the pictures the sewing line is in blue.

* to pin the gathered fabric to the fabric it will be attached to, I start by marking different corresponding points on each fabric (middle of the gathered section, quarter, …).

* then I match them before pining. This will help spread your gathers evenly. The pins are perpendicular to the stitching line.

* the gathers are made using only the top threads. Those at the back of the fabric are left alone. First you have to block one end of the threads, by rolling them around a pin. You then pull the threads at the other end to create gathers. Move them to the other end as you go. Go slowly and do not pull too hard, especially with thick fabrics. If it seems the thread won’t go further, stop pulling and move the gathers towards the other end before you start pulling again. Here is a little video I made to show what I’m talking about:

* when the gathers are looking good and the two fabrics are aligned, add some pins so that the top fabric can’t move. All you have to do now is stitch on the sewing line. Do not forget to set the stitch length and thread tension back to their usual values first!

I’d be happy to know what you think of this tutorial, so do not hesitate to leave a comment.

Of course there are other ways to make gathers. The classic way, that my mother taught me, is to prepare them by hand with a basting thread and then sew between the two gathering lines. You can also get a gathering foot for your sewing machine. Those gather and stitch all in one step. I have one but I haven’t really used it yet. Maybe I’ll write about those in a future post if I get used to it. ^_^