Hello!

I’m sorry for the unplanned break I took from blogging lately. I got overwelmed by all the things I had to do and couldn’t find time to write any posts. The end of May was really busy at work, plus I had to organize a few things and finish my “frankenstein” dress (which was ready on time), then I left for Bordeaux (south-ouest of France) for a few days to attend to my oldest friend’s wedding, came back to Paris with a cold that left me very tired, went to another wedding, prepared my other half’s birthday and finally took it easy for a week so that I could get some needed rest. But it is sad because there were quite a few things I wanted to share here, so I’ll have to catch up.

I have several garments to show you, some flee market finds that I have to share, my series on gathers to finish and a blog-anniversary to organize. Yes, this blog turned two at the busiest time so I couldn’t even write the tiniest post for the occasion. Since I didn’t do anything last year either, I’d like to do something nice this year. As soon as I get the time, I’ll set up a unbirthday party. ^_^ In the meantime I want to wish a very happy birthday to this tiny blog, and say a big thank you to all those who are ready it, be it followers or occasional readers. And please leave me comments when you stop by, I love them! ^_^

Work in progress

Two projects that might be a little ambitious, considering the time I can devote to sewing… ^^;

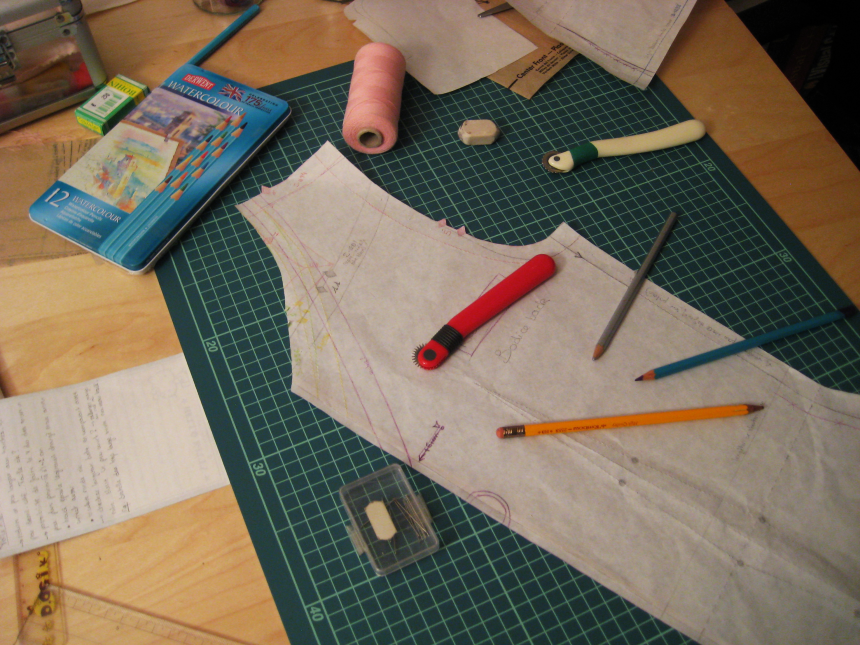
This is the franken-pattern of what I hope to be a lovely dress. The deadline for this is approaching quickly, I hope I can finish it on time! Please cross your fingers for me.

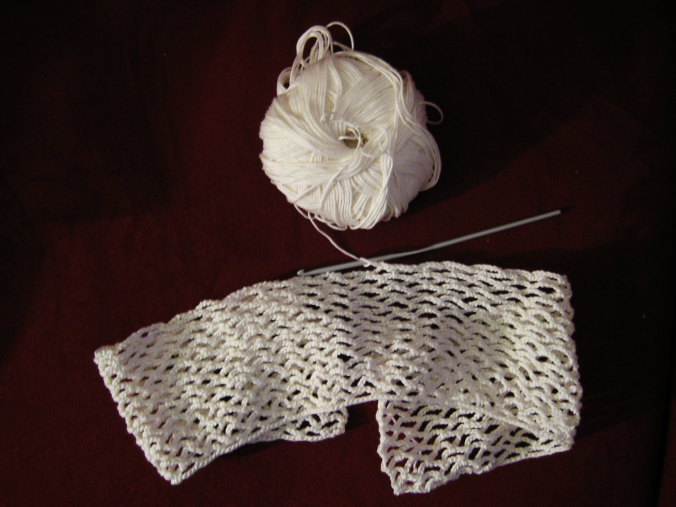
This should become a stole. Quite some work left to do, right? ^^; This is my first “big” crochet project. It makes me realize how much longer it takes to make something that way rather than sewing it. I somehow knew it would take long, but I didn’t know it would be that much! With some luck I’ll be able to show you the finished product before next year. I hope time does improve a lot when you get more experienced… ^^;

Different uses of gathers, part 1

After my last post I wanted to dive more deeply into the world of gathers, and make a follow-up post on how they are used in clothing. It turns out there is quite a lot to say about them, so this will be a series of two or three posts. First we’ll see the most common uses of gathers. Everyone probably already know about them, but I thought it would be nice to start with simple pieces with gathers uses listed by type. Then we’ll see some more original pieces. Most of the pictures are from my books and magazines collection (if you click on them you’ll go to my Flickr where I listed the sources).

At the waistline

The goal here is to have a fitted garment at the waistline that will get fuller at the bottom. I think it’s one of the most common use of gathers, with ruffles and puffy sleeves.

Empire waist

Small gathers so that the top isn’t very wide

This version has more gathers, so that the skirt part is fuller

Natural waist

Full gathered skirt are a common thing in fashion from the 40′s, 50′s and early 60′s. I love that type of skirts! Of course they were also commonly used in more ancient history.

Full gathered skirt on a 1957 dress

Low waist

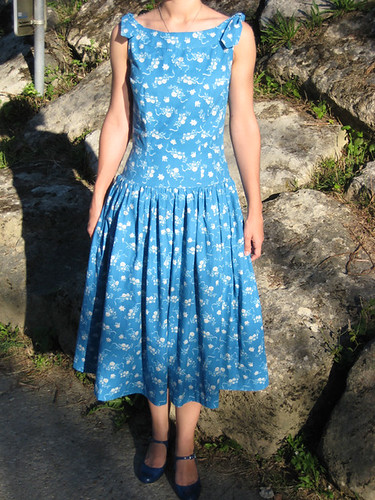
You can find a lot of those in fashion from the 50′s also, with the “long torso” trend where the waistline was below the waist. That’s what I used for my blue 50′s dress last year:

Today it’s most commonly used in skirts where the gathers start under a yoke, see the part about yoke.

Tiered skirts & ruffles

Gathers are used to make tiered or ruffle skirts. Ruffles can also be added to different parts of a garment as an embellishment.

Dress with a tiered skirt.

Ruffle skirt

Ruffle at the bottom or a tunic, dress or skirt

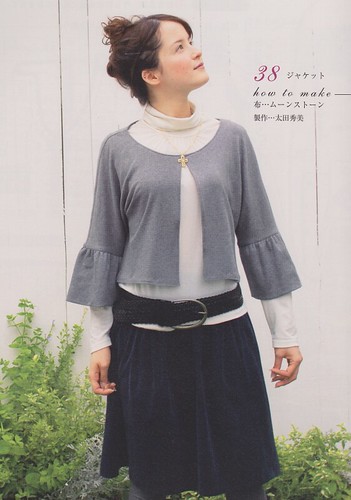
Ruffle at the bottom of sleeves

A ruffle was added to the neckline of this bolero, which makes it look at little fancier

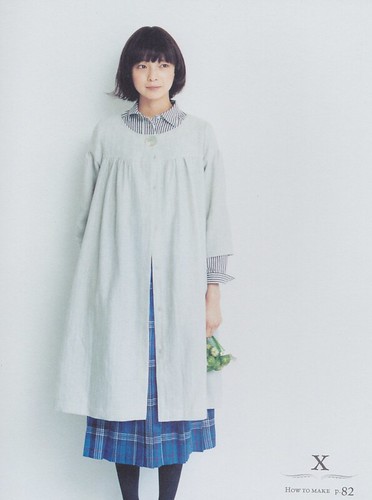
Under a yoke

Top

Bottom

You can also have yokes in skirts, which make the gathers start below the waist, around the hips. That makes the skirt full without having to much thickness at the waist. See this example by Eolune.

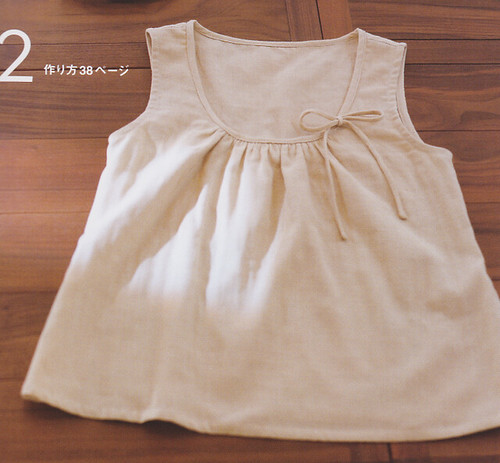
At the neckline

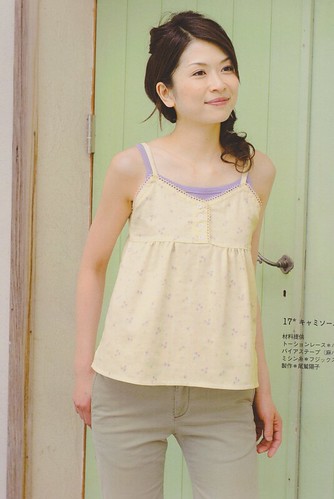
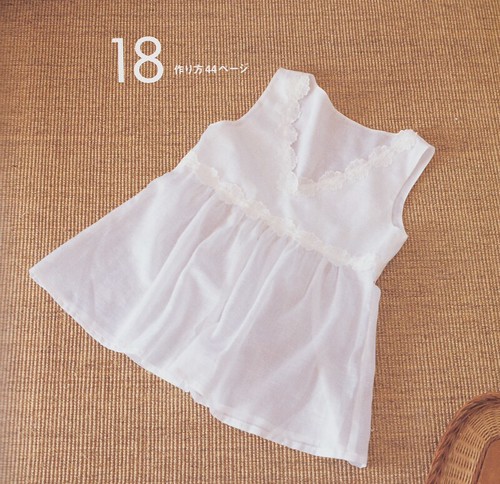
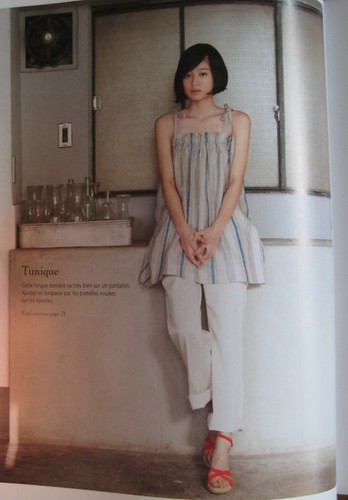
Here the gathers embellish the neckline and give a little fullness to the top.

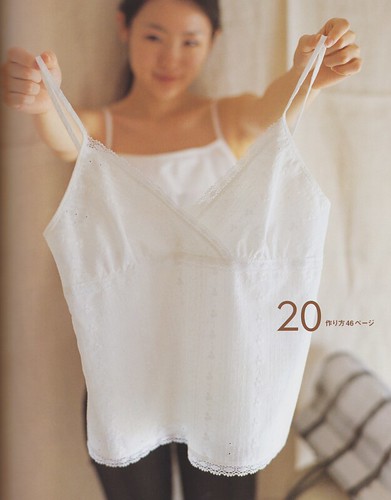
At the bust

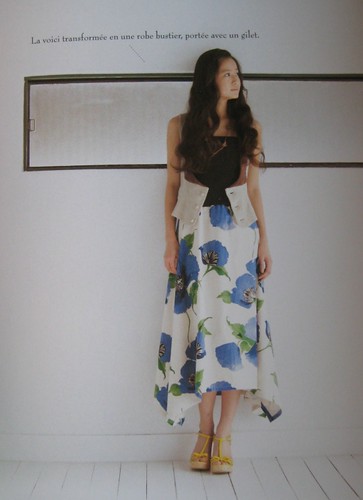
You can also use gathers to shape the bust part of an empire waist dress or top.

At the sleeves

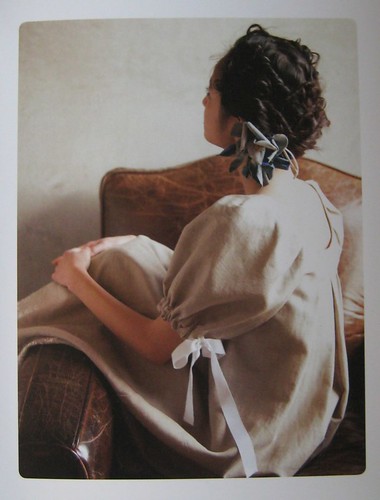
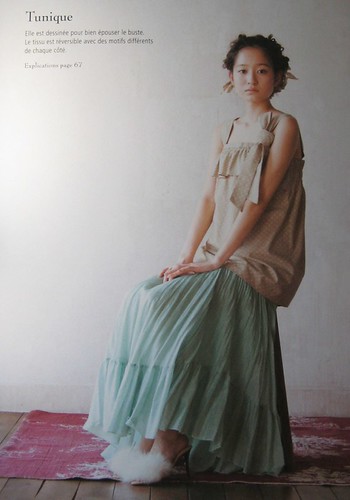
Gathers can be at the sleeve cap to make it stand up a little, or at the bottom to tighten it around the arm. This creates a nice puffy sleeve. You can see an example of that on the last picture.

I hope you enjoyed this journey in the world of gathers as much as I enjoyed researching it for you. If you have common or uncommon pieces with gathers to share, please leave a common I’d love to hear about it!

Tutorial: how to make gathers

Last week someone left a comment here looking for advice on making the gathers for the Lisette bag. This gave me the idea to talk about the method I use for gathering, as it could be useful to others.

I discovered this method to prepare gathers by machine instead of doing it all by hand last year in my sewing book. I’ve been using it ever since, because it saves time and, in my case, it makes more regular gathers. It uses regular thread in place of basting thread, which is good for thick fabric because your thread won’t break as easily. It’s not as easy to remove the gathering threads afterwards, but sometimes you don’t have to. I left them in place on the Lisette bag since they’re hidden inside. For this tutorial I used a remnant of my bag’s fabric.

How to make gathers

* choose the straight stitch on your sewing machine and set the stitch length to the maximum length

* set the thread tension to zero

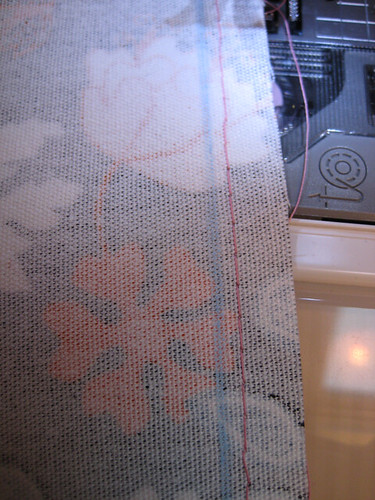
* stitch a first straight line along the part that will be gathered

* stitch a second line approx. 6mm away from the first. Be as regular as you can so that the stitches match.

On the Lisette bag I stitched both lines inside the sewing allowance so that I didn’t have to remove the threads. On the pictures the sewing line is in blue.

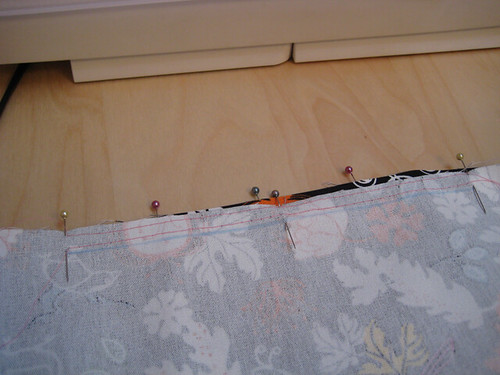
* to pin the gathered fabric to the fabric it will be attached to, I start by marking different corresponding points on each fabric (middle of the gathered section, quarter, …).

* then I match them before pining. This will help spread your gathers evenly. The pins are perpendicular to the stitching line.

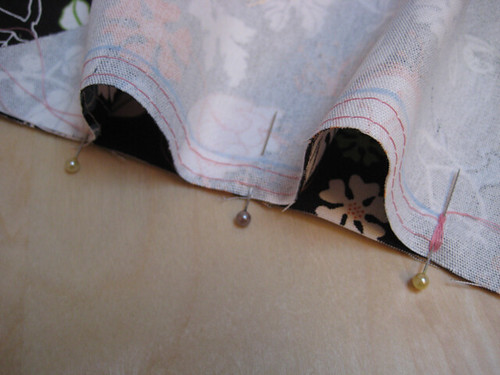
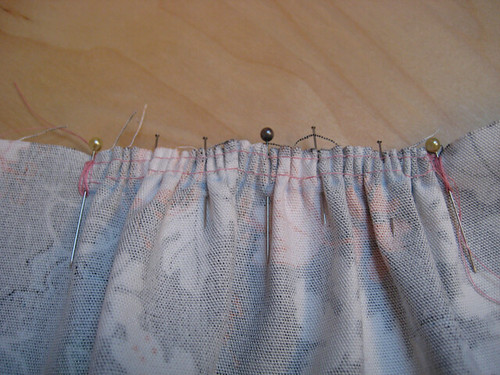
* the gathers are made using only the top threads. Those at the back of the fabric are left alone. First you have to block one end of the threads, by rolling them around a pin. You then pull the threads at the other end to create gathers. Move them to the other end as you go. Go slowly and do not pull too hard, especially with thick fabrics. If it seems the thread won’t go further, stop pulling and move the gathers towards the other end before you start pulling again. Here is a little video I made to show what I’m talking about:

* when the gathers are looking good and the two fabrics are aligned, add some pins so that the top fabric can’t move. All you have to do now is stitch on the sewing line. Do not forget to set the stitch length and thread tension back to their usual values first!

I’d be happy to know what you think of this tutorial, so do not hesitate to leave a comment.

Of course there are other ways to make gathers. The classic way, that my mother taught me, is to prepare them by hand with a basting thread and then sew between the two gathering lines. You can also get a gathering foot for your sewing machine. Those gather and stitch all in one step. I have one but I haven’t really used it yet. Maybe I’ll write about those in a future post if I get used to it. ^_^
New books

Before sharing my current projects with you I thought I’d show you pictures from my last japanese books. Or should I say french book? Those are actually popular japanese sewing books that have been translated and released by french editors.After being able to resist them in Japan and for months since, I finally gave in when they appeared in France. Here are my favourite pieces from those two books.

~~~~~~~~~~~~

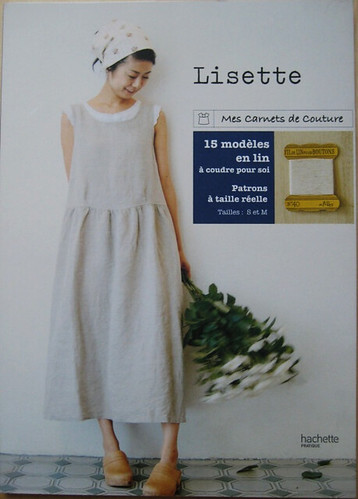
Lisette

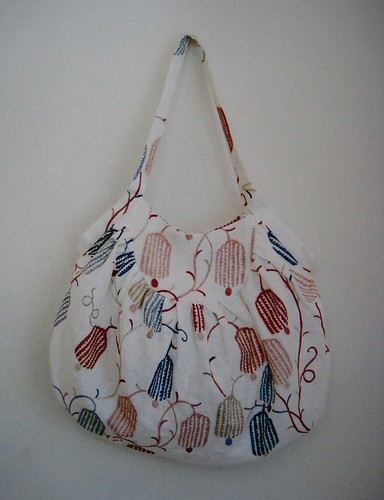
I got this one a few months ago. The bag I posted about before is made from it.

~~~~

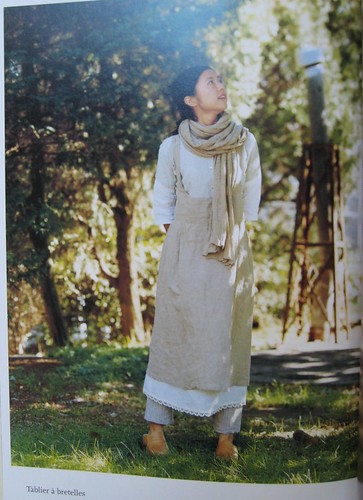
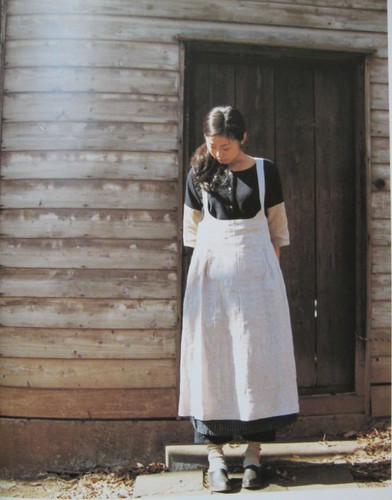
I got the book because of this pattern. I’m so in love with this apron (which would make a great skirt too)!

~~~~

The bag

~~~~

~~~~

What thing I find funny: the original (japanese) cover shows patterns pieces with writings in French. And for the french version, they changed this to show a japanese girl. Isn’t it ironic?

~~~~~~~~~~~~

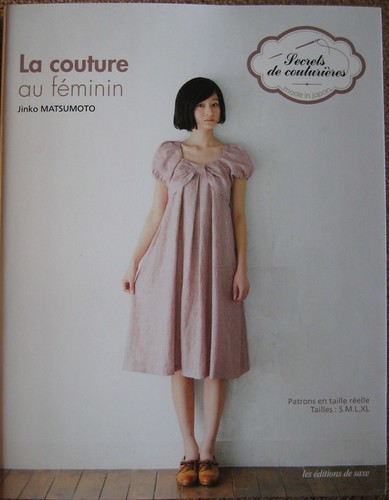
La couture au féminin (original title: “feminine wardrobe”)

This one is very recent, it just got out last Saturday. I was really excited when I heard it was going to be released in France.

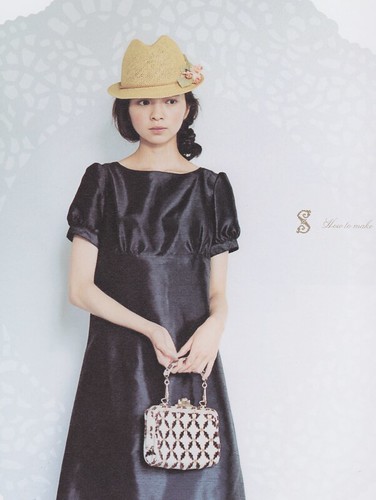
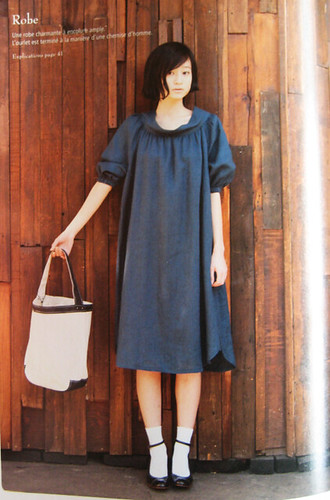
The cover dress have been tempting me for a very long time. It’s my favourite from the book.

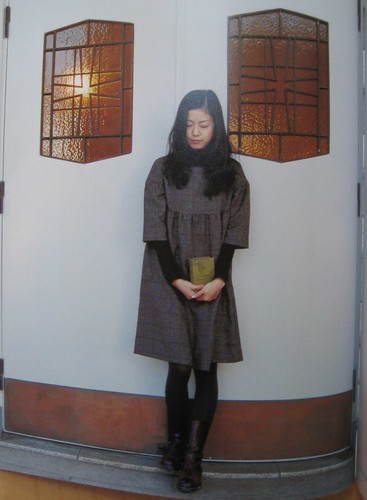
This is a picture I like of a similar dress. The sleeves are longer. Isn’t this picture poetic?

~~~~

~~~~

~~~~

The top part of this dress is made from a knit fabric.

~~~~

~~~~

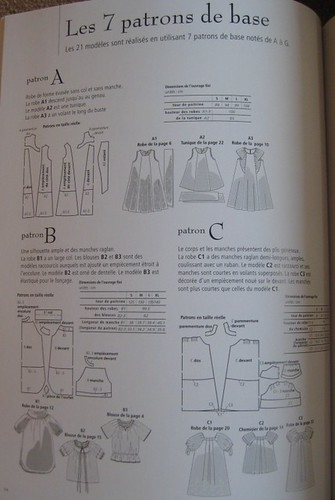
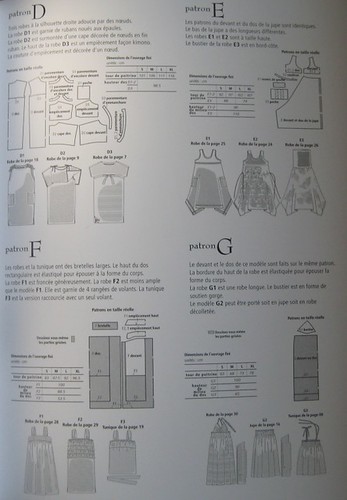
This book gives you seven basic patterns and explains how to make three garments from each, most of the time by changing the length, sleeves or small details.

Charity bag

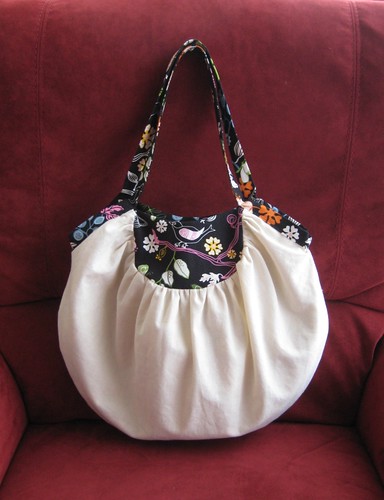
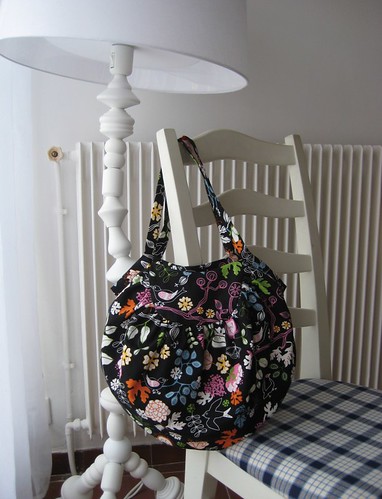
On Saturday is the launch of the Inspiration Japon charity sale for Japan. I had a busy schedule the past weeks so it was hard to find the time to sew, but I managed to finish (almost) on time! I’m happy to share with you my first bag from the Lisette japanese pattern book.

I wanted to make something useful and for which the buyer’s size wouldn’t matter. An accessory therefore seemed appropriate. The only constraint was that the object offered had to be related to Japan in some way (fabric, theme, pattern…). I wasn’t really inspired by my japanese fabrics for this, so I turned to my patterns and decided to try this bag. It seems quite popular in the french sewing community, I thought it would be a good occasion to try it. In a sense it was liberating to make this without anyone in mind, as I was able to just follow the pattern and instructions. I didn’t feel compeled to modify it to suit someone’s need in particular. I did add a lining though, as I feel such a bag wouldn’t be complete without it.

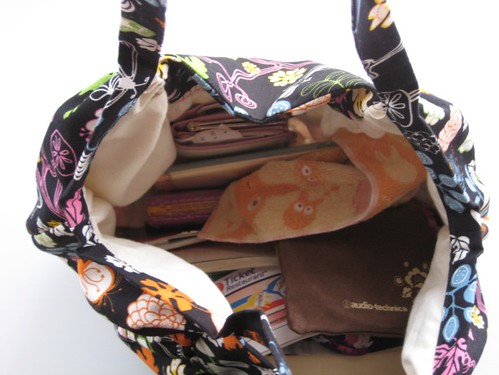
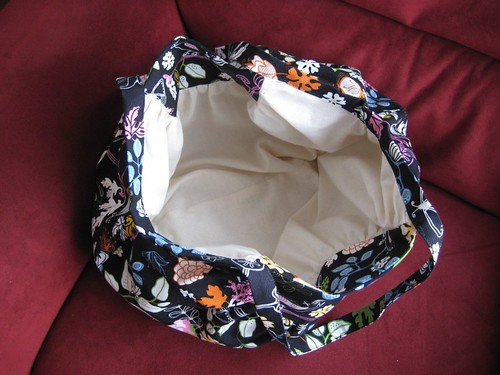
I got the fabrics from Ikea. I chose a dark yet joyful fabric for the outside, and a light coloured simple one for the inside. Both are cottons. I like the constract between the busy print and the lining fabric. Here is an inside out picture for you to see it better:

I didn’t have any problems with the pattern, it’s quite easy to construct, even if the gathers make it a little time consuming. The only difficult part was sewing the handle at the point where it’s attached to the body, as it’s quite think there because of the different layers of fabric. The stitching line is not as straight as I’d like it to be, but it is ok. All in all I’m quite pleased with it, and happy with the finishing I did. I tried my best so that the person who will get it would be happy with it. It’s a little stressful to know the bag will be bought by someone I don’t know, it feels like a big responsibility.

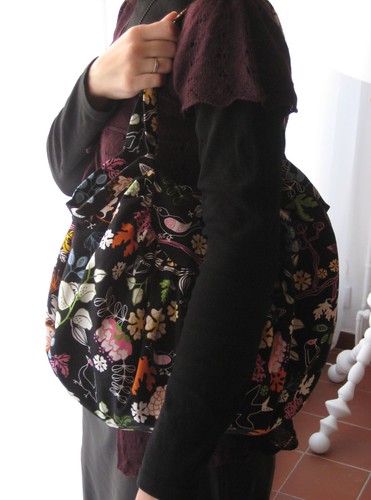
I took a picture where I hold the bag for size comparison. It’s bigger than what I first thought. Thanks to its size and the gathers, it can hold quite a lot of stuff, as you can see below:

I don’t feel like making another one right away, but since it’s not really difficult and the shape is nice, I guess this bag and I will cross paths again in the future. It’s not the kind of bag I’d think of buying, not really my usual thing, but it’s nice to make. And it’s good to change one’s habits sometimes.^_^
For Japan

As I was in Japan for almost four years and still have friends who live in Japan, I’m very affected by what’s happening there lately. At first I felt really helpless, I wanted to be there and help my friends and this country I love. I’m sure there are other people out there who feel the same, who would like to help. That’s why I decided to list all the ways I know through which people can help. I didn’t want to write a very very long post, and I wanted the list to be easily found again if you need, so I’ve created a dedicated page. You can find it here: http://amelienomori.wordpress.com/aider-le-japon-help-japan.

If you feel like you can’t give a lot, maybe you can try to create a little something for a grouped charity sale, or buy a tiny item at such a sale. And if you really can’t do any of that, please talk about those events around you, so more people know they can do something. I’m not Japanese, but I’m happy to see that so many people care and are trying to help as they can. Thank you to all those nice people!

New friend

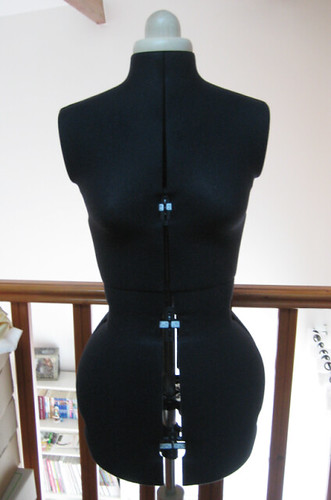
Look who got here last week-end:

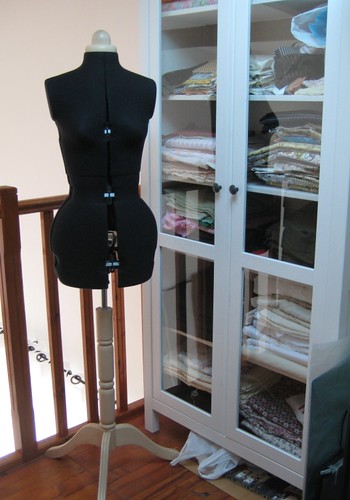
I was really happy! After years longing for a dress form, I finally have it! And it’s an adjustable one! It’s was a gift promised some months ago, which was delayed due to various reasons (among which our moving). We finally ordrered it a few weeks ago. It’s funny that it arrived especialy this week-end, as it was our japanese-wedding anniversary. :) Nice coincidence! I really like the simple color and the wood parts as it makes it quite a nice and decorative item. It fits just right in our working corner.

You can also see my lovely new fabric cabinet, which contains way too many fabrics…

The only drawback of an adjustable form is that you have to adjust it. Which means you have to take all your precise measurements. You’ll think I’d have all my measurements by this time. And you’d be right. But I’ve never made pants or a tight skirt or dress. Which means I’ve never used my hips circumference. Of course I measured it, some time ago. And on Saturday. I knew I had grown a few inches in that part lately, but knowing and having figures to prove it are two different things! It was a little depressing… ^^;

Now that I have such a wonderful (I hope) dressform, I have to use it! The good news is that lately I’ve been able to put aside some time for sewing. I’m organising slowly and trying to find the perfect schedule for my week. The downside of this is that on the free time I get, I sew, so I don’t blog. Still some work to do on that schedule.

Crochet!

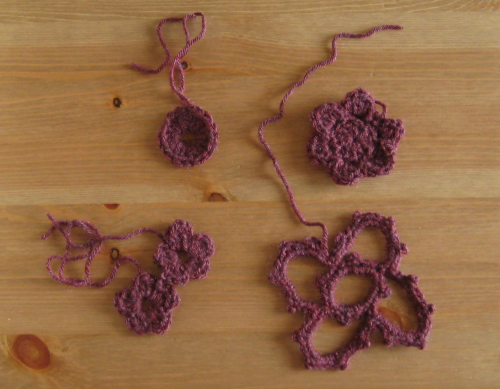
I told you last time about my recent love for crochet. I was very lucky to receive what I needed to start learning crochet for Christmas from a family member, along with a live demo of the basic stitches. It’s very easy to learn when someone is showing you how to do it! Crochet seems much easier to me than knitting. With a few basic stitches you can make cute and useful things. Plus you don’t need much space, so I can bring my crochet and thread with me on the train when I commute to/from work, which is great! And I really like the repetition of movements, it’s sort of soothing and funny. Here are some of my first crochet creations:

Sources: Marie-Claire Idées’s “250 points de crochet” and this flower tutorial at Attic24

Ok so I still have some progress to make so that my stitches look really pretty, but I think it’s a good start. I then went looking for online tutorials. I decided to try Creative Yarn’s triple hairband.

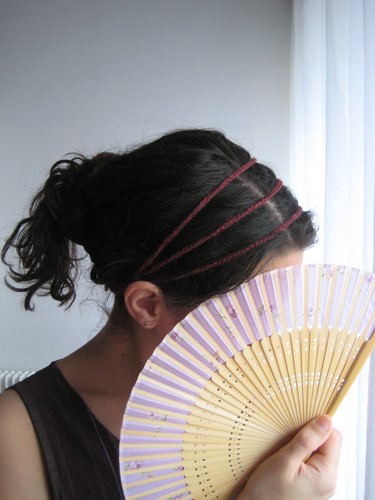
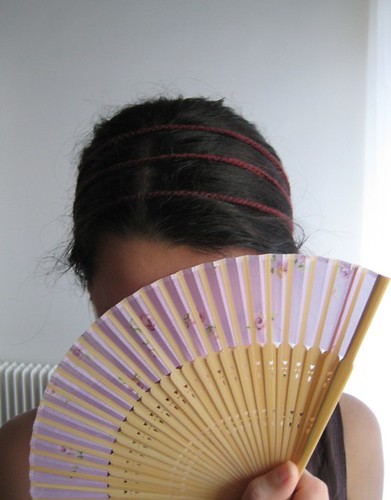
I’ve had something similar in mind for some time and I was wondering if a chain stitch would work ok.  The answer is yes. I guess I saw the band on a blog (probably at Eolune’s, who made it with a flower) and it stayed somewhere in my memory. It’s very easy to do and I really like the result. My husband loves how it looks on me. The only thing is that I seem to have a big head, because the ends were too short, I couldn’t knot it. I added a button and made a loop with the remaining of the thread on one side, and voilà !

Now I have to make some more in different colours so that I can match my outfits. I’ll try to make them longer so that I can make a knot or shorter so that the button is centered. Good thing there is a yarn shop not very far from my new place. :)